
Chicken Nuggets
Hey there, friends! I’ve got a real treat for you today with a recipe that’s been a total game-changer in my kitchen: homemade Chicken Nuggets.
Honestly, I discovered the magic of making Chicken Nuggets from scratch a few years back when my kids started turning their noses up at the store-bought kind. My family loves how crispy and juicy these turn out, and I’m pumped to share my little secrets with you!
See, the first time I whipped up a batch of Chicken Nuggets, it was a bit of a hot mess (pun intended). I overcooked half of them, and my kitchen looked like a flour bomb exploded. But after a few tries, I got the hang of it, and now these nuggets are a weekly request at our dinner table.
So, stick with me, and I’ll walk you through how to make the best darn Chicken Nuggets you’ve ever tasted. Trust me, once you go homemade, there’s no turning back!
Why You’ll Love This Recipe
I’ve found that making Chicken Nuggets at home isn’t just about the flavor, though they’re miles better than anything from a fast-food joint. It’s also about knowing exactly what goes into your food, which, as a mom, gives me serious peace of mind. Plus, they’re super customizable, and I love playing around with different seasonings.
In my kitchen, these Chicken Nuggets are a hit because they’re quick to whip up on busy weeknights. They’ve got that perfect golden crunch without being greasy, and honestly, even picky eaters can’t resist. You’re gonna love how easy they are to make with stuff you probably already have on hand!
Ingredients List
Alright, let’s talk about what you’ll need to make these awesome Chicken Nuggets. I’m pretty particular about a few ingredients here because, in my experience, quality makes a huge difference. I usually buy fresh chicken breast from my local butcher, but if you’re in a pinch, frozen works too—just thaw it completely first.
Here’s the lineup for about 4 servings of Chicken Nuggets, with everything measured out so you’re not guessing:
- 1.5 pounds (680g) boneless, skinless chicken breast, cut into bite-sized pieces for that classic nugget shape
- 1 cup (120g) all-purpose flour, for the first dredge to lock in moisture
- 2 large eggs, beaten, to help the coating stick like glue
- 1 cup (100g) panko breadcrumbs, because I prefer the extra crunch over regular breadcrumbs
- 1 teaspoon (5g) salt, to bring out the flavor
- 1/2 teaspoon (2.5g) black pepper, for a little kick
- 1/2 teaspoon (2.5g) garlic powder, for depth (I’m obsessed with this stuff)
- 1/2 teaspoon (2.5g) paprika, for a smoky vibe and pretty color
- Vegetable oil, enough for frying (about 2 cups or 500ml, depending on your pan)
I like keeping things simple with these basics, but don’t worry, I’ve got some fun twists on Chicken Nuggets coming up if you wanna jazz things up. And hey, if you’ve got a fave spice blend, toss it in—I’m all about experimenting!
Variations
One of the coolest things about making Chicken Nuggets at home is how you can switch up the flavors to match your mood or crowd. I’ve tried a bunch of variations over the years, and my kids always ask for their faves. Here are some tweaks I’ve played with that might inspire you to get creative with your own batch of Chicken Nuggets.
- Spicy Kick: Add 1/2 teaspoon cayenne pepper or a dash of hot sauce to the breadcrumb mix for some heat. I tried this once for a game night, and let’s just say the adults were all over it!
- Cheesy Crunch: Mix 1/4 cup grated Parmesan into the breadcrumbs. This gives your Chicken Nuggets a savory edge that’s downright addictive.
- Herb-Infused: Toss in 1 tablespoon of dried Italian seasoning or fresh chopped parsley to the coating. It’s a subtle upgrade that makes ‘em taste gourmet.
- BBQ Glaze: After frying, brush your nuggets with a thin layer of barbecue sauce. My family flipped for this sweet-smoky combo last summer.
- Buffalo Style: Dip the cooked Chicken Nuggets in a mix of melted butter and hot sauce. Perfect with a side of ranch or blue cheese dressing!
- Garlic Butter Bliss: Melt 2 tablespoons of butter with a minced garlic clove and drizzle over the nuggets right after frying. I swear, this one’s a crowd-pleaser every time.
- Sweet and Sour: Serve with a homemade or store-bought sweet and sour sauce for dipping. My little ones go nuts for this twist.
- Honey Mustard Drizzle: Mix equal parts honey and Dijon mustard for a dipping sauce or light glaze. I stumbled on this by accident, and now it’s a staple!
Feel free to mix and match these ideas for your Chicken Nuggets. Honestly, half the fun is seeing what crazy combos you can come up with!
Servings and Timing
Let’s break down the nitty-gritty of how long it’ll take to get these Chicken Nuggets on the table and how many folks you can feed. In my experience, this recipe comes together pretty fast, especially once you’ve done it a couple of times. Here’s the rundown based on how it usually goes in my kitchen:
- Prep Time: 15 minutes
- Cook Time: 20 minutes
- Total Time: 35 minutes
- Servings: 4-6 portions
This batch of Chicken Nuggets feeds my family of four with a few leftovers for snacking (if we’re lucky). If you’ve got a bigger crew, just double up on everything—it scales up like a charm.
Step-by-Step Instructions
Alright, let’s roll up our sleeves and make some killer Chicken Nuggets. I’m gonna walk you through this like I’m right there in your kitchen, sharing all my little tricks to get that perfect bite. Here’s how I do it, step by tasty step.
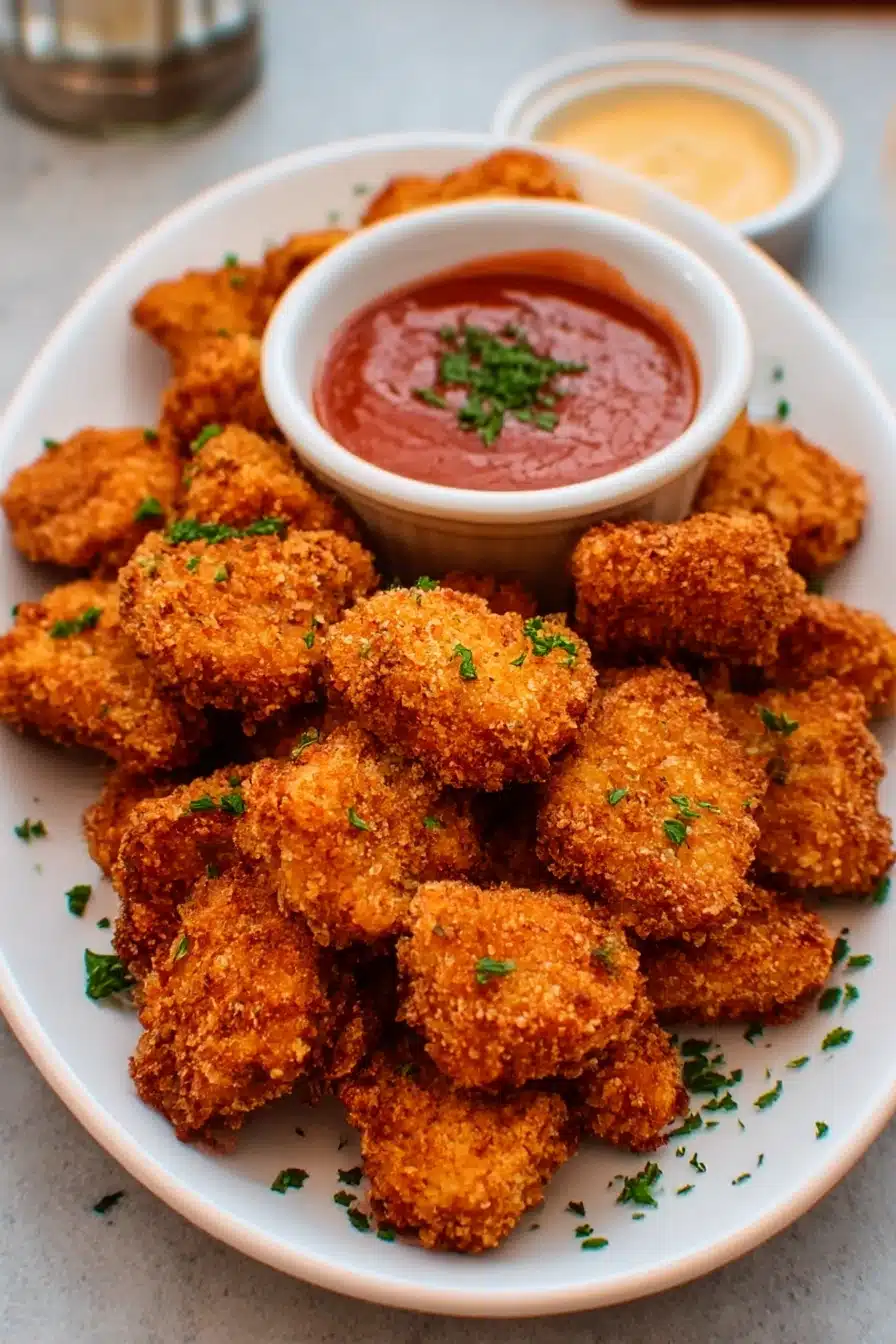
Step 1: Prep the Chicken
Start by cutting your chicken breast into small, even chunks—about 1-inch pieces work best for that classic nugget vibe. I like to pat them dry with paper towels to help the coating stick better. Keep a clean workspace here; raw chicken’s no joke, and I’ve learned to sanitize everything after this step.
Step 2: Set Up Your Dredging Station
Grab three shallow bowls or plates. In the first, put your flour with a pinch of salt and pepper; in the second, beat your eggs; and in the third, mix the panko with garlic powder, paprika, and the rest of the seasonings. I’ve found setting this up assembly-line style makes coating Chicken Nuggets a breeze.
Step 3: Coat the Nuggets
Dip each piece of chicken first in flour (shake off the excess), then egg, and finally panko. Press the breadcrumbs on gently so they really cling—I’ve botched this before by rushing, and the coating just falls off in the pan. Take your time with these Chicken Nuggets; it’s worth it.
Step 4: Heat the Oil
Pour enough vegetable oil into a large skillet or deep fryer to cover about half the nuggets—usually 1/2 inch deep does it for me. Heat it over medium until it shimmers (around 350°F if you’ve got a thermometer). Test with a small piece; if it sizzles right away, you’re good to fry up those Chicken Nuggets.
Step 5: Fry to Golden Perfection
Fry the Chicken Nuggets in small batches so you don’t crowd the pan—trust me, overcrowding leads to soggy results, and I’ve been there! Cook for 3-4 minutes per side until they’re golden brown and cooked through. Pull one out and cut it open if you’re unsure; it should be white inside, no pink.
Step 6: Drain and Serve
Scoop the Chicken Nuggets out with a slotted spoon and let ‘em drain on a paper towel-lined plate to soak up extra oil. Serve ‘em hot with your favorite dipping sauce. I’m partial to honey mustard, but that’s just me getting ahead of myself—more on serving ideas soon!
Nutritional Information
I’m no dietitian, but I think it’s handy to know what’s in these Chicken Nuggets, especially if you’re keeping an eye on your macros or just curious. Here’s a rough breakdown per serving (about 5-6 nuggets), based on how I make ‘em. Keep in mind frying adds calories from oil, so this is an estimate.
- Calories: 300 per serving
- Fat: 15g
- Protein: 25g
- Carbohydrates: 18g
- Sodium: 400mg
These Chicken Nuggets aren’t exactly health food, but compared to fast-food versions, you’ve got way more control over the ingredients. I’ll share some lighter options next if you’re looking to trim things down a bit.
Healthier Alternatives
If you’re like me and sometimes wanna enjoy Chicken Nuggets without the guilt, I’ve got a few swaps that work surprisingly well. I’ve played around with these healthier takes when I’m watching my calories or just feeling like I need a break from fried goodness. Here are some tweaks to lighten up your Chicken Nuggets without losing that yum factor.
- Baked Instead of Fried: Skip the oil and bake your Chicken Nuggets at 400°F for 20-25 minutes, flipping halfway. Spray with a little cooking spray for crispiness—I do this a lot for weeknight dinners.
- Whole Wheat Coating: Use whole wheat flour and breadcrumbs instead of regular for extra fiber. It’s a small change, but I’ve noticed it keeps me fuller longer.
- Leaner Meat: Swap chicken breast for ground turkey or chicken if you want less fat. I’ve tried this, and while the texture’s a tad different, it’s still tasty.
- Air Fryer Magic: Cook your Chicken Nuggets in an air fryer at 375°F for 10-12 minutes, shaking the basket once. This is my go-to when I’m craving crunch without the mess of frying.
These options let you enjoy Chicken Nuggets in a way that fits your vibe. Give ‘em a shot and see what works for you!
Serving Suggestions
Now, let’s talk about how to plate up these delicious Chicken Nuggets. I love serving them in ways that make every meal feel a bit special, whether it’s a casual lunch or a fun family dinner. Here are some of my fave ideas for enjoying your homemade Chicken Nuggets.
- Kid-Friendly Meal: Pair with ketchup or ranch and a side of carrot sticks or apple slices. My kids go wild for this combo!
- Game Day Snack: Serve with a trio of dips like BBQ, honey mustard, and spicy mayo. I did this at my last party, and they vanished in minutes.
- Salad Topper: Slice the Chicken Nuggets and toss ‘em on a Caesar or garden salad for a protein boost. It’s my sneaky way of getting greens in.
- Wrap It Up: Stuff Chicken Nuggets into a tortilla with lettuce, cheese, and a drizzle of sauce for a quick handheld meal. Perfect for on-the-go lunches!
There’s no wrong way to enjoy these beauties. What’s your go-to pairing?
Common Mistakes to Avoid
I’ve made my fair share of flubs while perfecting Chicken Nuggets, so let me save you some headaches with a few pitfalls to dodge. Trust me on this one—I learned the hard way! Here are the biggest oopsies to watch out for when making your batch of Chicken Nuggets.
- Overcrowding the Pan: Frying too many at once drops the oil temp and makes ‘em soggy. I’ve ruined whole batches this way, so give ‘em space!
- Skipping the Dry: Not patting the chicken dry before coating means the breading won’t stick. Guilty as charged on my first attempt with Chicken Nuggets.
- Wrong Oil Temp: If it’s not hot enough, you’ll get greasy nuggets; too hot, and they burn. I’ve burned my fair share before investing in a cheap thermometer.
- Undercooking: Always check one nugget to make sure it’s cooked through. I’ve had to pop batches back in the pan after cutting into a pink center—yuck!
Avoid these slip-ups, and your Chicken Nuggets will be golden (literally)!
Storing Tips
Got leftovers? I’ve found these Chicken Nuggets keep pretty well if you store ‘em right. Here’s how I handle extras in my house to keep that crunch alive for round two.
- Refrigerator: Store in an airtight container for up to 3 days. Reheat in the oven at 350°F to crisp them back up.
- Freezer: Freeze cooked Chicken Nuggets in a single layer on a tray, then transfer to a freezer bag for up to 2 months. Reheat straight from frozen in the oven.
- Reheating Tip: Avoid the microwave if you can—it turns Chicken Nuggets into rubber. I’ve made that mistake too many times!
These tips’ll help you enjoy every last bite without waste.

Frequently Asked Questions
I get a bunch of questions about making Chicken Nuggets, so I’ve rounded up the most common ones with answers straight from my kitchen. Let’s tackle these head-on!
Can I make Chicken Nuggets ahead of time?
Yep, you sure can! Bread them, then freeze uncooked on a tray before transferring to a bag. Fry or bake straight from frozen, adding a couple extra minutes to the cook time.
Can I use chicken thighs instead of breast?
Absolutely, thighs work great and are juicier, though a bit fattier. I’ve used ‘em when I’m out of breast meat, and they’re just as tasty.
What if I don’t have panko?
No worries, regular breadcrumbs or even crushed crackers can sub in. Panko’s just crunchier, in my opinion, but use what you’ve got!
Are Chicken Nuggets gluten-free?
Not as written, but swap flour and panko for gluten-free versions. I’ve done this for a friend, and they still turned out awesome.
Can I air fry instead of deep fry?
For sure! Air fry at 375°F for 10-12 minutes, shaking halfway. It’s my lazy-day method.
How do I know when they’re done?
Cut one open—meat should be white, no pink, or check with a thermometer for 165°F. Better safe than sorry!
What’s the best dipping sauce?
That’s personal, but I’m hooked on honey mustard or a quick garlic aioli. Experiment and find your jam!
Can I bake Chicken Nuggets instead?
Yes, bake at 400°F for 20-25 minutes on a greased tray, flipping once. Not as crispy as frying, but still delish.
Conclusion
Well, there you have it—my tried-and-true guide to making the best homemade Chicken Nuggets! I’m so excited for you to give this recipe a whirl and see why my family can’t get enough of these crispy bites. Whether you’re frying up a batch for a quick dinner or testing out a fun variation, I hope these Chicken Nuggets bring some serious joy to your table. Drop a comment if you’ve got questions or just wanna share how yours turned out—I’d love to hear!
Conclusion
I hope you enjoyed this recipe for Chicken Nuggets
! It’s truly one of my favorites, and I’m confident you’ll love it too. Remember to follow the steps carefully for the best results.
Don’t hesitate to experiment with your own variations and make this recipe your own. Happy cooking!


