
BEST Strawberry Jam
- Simplicity at its best: With just three main ingredients, this strawberry jam recipe is easy to make and requires minimal prep.
- Bursting with flavor: The natural sweetness of fresh strawberries shines through, enhanced by a hint of lemon juice for a perfect balance.
- Versatile use: Spread it on toast, use it as a filling for pastries, or even as a topping for desserts.
- Customizable texture: Whether you prefer a smooth or chunky jam, this recipe allows you to adjust to your liking.
- Healthy indulgence: Low in calories and packed with vitamin C, this jam is a guilt-free treat.
Ingredients You’ll Need
Let’s gather our ingredients—these simple pantry staples create magic together, turning fresh strawberries into a delicious jam. Here’s what you’ll need:
- Fresh strawberries: Choose ripe, juicy berries for the best flavor. If possible, use locally sourced or organic strawberries.
- Granulated sugar: This helps to preserve the jam and enhance the natural sweetness of the strawberries. You can adjust the amount to suit your taste.
- Lemon juice: Freshly squeezed is best, as it adds a bright, tangy note and helps with the jam’s setting process.
- Pectin (optional): If you prefer a firmer set, pectin can be added. Look for it in the canning section of your grocery store.
For the best results, select strawberries at their peak ripeness. If you can’t find fresh, frozen strawberries can be used, but thaw them completely and drain any excess liquid before using.

Note: You’ll find the complete list of ingredients, along with their exact measurements, in the printable recipe card at the bottom of this post.
Kitchen Equipment Needed
To make this strawberry jam, you’ll need a few key pieces of equipment:
- Large saucepan: A heavy-bottomed pot works best to prevent burning.
- Sterilized jars with lids: Ensure they are properly sterilized to keep your jam fresh.
- Wooden spoon: For stirring the jam as it cooks.
- Candy thermometer: This helps you reach the perfect temperature for setting the jam.
- Chilled plate: Used to test the jam’s readiness.
How to Make BEST Strawberry Jam Recipe
Step 1: Macerate the Strawberries
Start by combining the strawberries, sugar, and lemon juice in a large saucepan. Stir well to coat the strawberries evenly. Let them sit for about 10 minutes to macerate.
This step helps to draw out the juices and start the flavor melding process. Trust me, this extra time makes a difference in the final taste.
Step 2: Cook the Jam
Place the saucepan over medium heat and bring the mixture to a simmer, stirring occasionally. Once simmering, reduce the heat to low and let it cook for about 40-45 minutes. Believe me, patience is key here.
Keep an eye on the jam and stir to prevent sticking. The jam should thicken and reach a temperature of 220°F (104°C).
Step 3: Add Pectin (Optional)
If you’re using pectin for a firmer set, stir it in during the last 5 minutes of cooking. Continue to stir until fully dissolved. Tip from me: Adding pectin at this stage ensures it’s evenly distributed without overcooking the jam.
Step 4: Test for Doneness
To test if the jam is ready, place a small amount on a chilled plate and let it sit for a minute. If it wrinkles when pushed with your finger, it’s done. If not, continue cooking and test again after a few minutes.
Now comes the fun part—seeing your jam set perfectly!
Step 5: Jar and Serve
Once the jam is ready, remove it from the heat and let it cool slightly. Pour the jam into sterilized jars, leaving about 1/4 inch of headspace. Seal the jars and let them cool completely before refrigerating.
Step back and admire your homemade strawberry jam, ready to enjoy on toast, scones, or in your favorite recipes.
Pro tip: To ensure a smooth and even texture, mash the strawberries with a potato masher during the cooking process. This helps to break down the fruit without over-processing it. Temperature matters: Use a candy thermometer to monitor the jam’s temperature. The ideal setting temperature is 220°F (104°C), which ensures the jam will thicken properly as it cools. Visual cues: Look for the jam to become glossy and thick, with bubbles that pop slowly. This indicates it’s reaching the right consistency. Avoid overcooking: Don’t let the jam cook too long, as it can become overly thick and lose its vibrant flavor. Keep an eye on it and test frequently.Recipe Variations & Customizations
- Herb Infusion: Add a few sprigs of fresh basil or mint to the jam during the last 10 minutes of cooking for a refreshing twist.
What to Serve With This Recipe
This strawberry jam pairs perfectly with a variety of dishes:
- Breakfast: Spread it on toast, bagels, or English muffins for a sweet start to your day.
- Baked Goods: Use it as a filling for pastries, tarts, or thumbprint cookies.
- Desserts: Top ice cream, yogurt, or cheesecake with a dollop of this jam for added flavor.
- Cheese Board: Serve alongside a variety of cheeses for a sweet and savory contrast.
For beverages, pair with a cup of tea or a glass of sparkling wine for a delightful combination.
Storage & Make-Ahead Instructions
- Store your strawberry jam in sterilized jars in the refrigerator for up to 3 weeks. For longer storage, you can freeze the jam in airtight containers for up to 6 months. To reheat, simply thaw in the refrigerator overnight or warm gently on the stove.
To make ahead, prepare the jam as directed and store it in the refrigerator. It’s perfect for having on hand for quick breakfasts or last-minute desserts.
Nutritional Benefits
- Strawberries are packed with vitamin C, which boosts your immune system, and antioxidants that help fight inflammation. This jam is also low in calories, making it a healthier sweet option compared to store-bought varieties. Plus, it’s naturally free of common allergens, making it suitable for many diets.
Frequently Asked Questions
Q: Can I make this jam ahead of time?
Yes, you can make this jam ahead of time. Store it in the refrigerator for up to 3 weeks or freeze it for up to 6 months.
Q: Can I use frozen strawberries?
Absolutely! Thaw frozen strawberries completely and drain any excess liquid before using them in the recipe.
Q: How do I know when the jam is done?
Use the chilled plate test: place a small amount of jam on a chilled plate and let it sit for a minute. If it wrinkles when pushed, it’s ready.
Q: Can I reduce the sugar?
Yes, you can reduce the sugar to 1 cup and add a natural sweetener like honey or maple syrup. Keep in mind that less sugar may affect the jam’s shelf life.
Q: Is this jam suitable for canning?
Yes, you can process this jam in a water bath canner for longer shelf life. Follow safe canning practices to ensure the jam remains fresh.
Q: Can I make this jam without pectin?
Yes, you can make this jam without pectin. It will be slightly softer but still delicious.
Q: How can I fix runny jam?
If your jam is too runny, you can reboil it with a bit more pectin or cook it longer to reduce the liquid content.
Recipe Origin or History
Strawberry jam has a long history, dating back to the 17th century when sugar became more widely available. It’s a beloved preserve in many cultures, often enjoyed as a simple spread or used in a variety of recipes. This version is a modern take, focusing on the natural flavors of the fruit with minimal added ingredients.
Final Thoughts
This BEST Strawberry Jam recipe is a testament to the beauty of simplicity. With just a few ingredients and some patience, you can create a delicious, versatile jam that’s perfect for any occasion. The natural sweetness of the strawberries, enhanced by a hint of lemon, makes this jam a standout.
I encourage you to try this recipe at home and enjoy the satisfaction of making your own preserves. Let me know how it turns out, and don’t forget to rate and share this recipe on social media. Serve it with your favorite breakfast foods or use it to elevate your desserts.
Happy jamming!
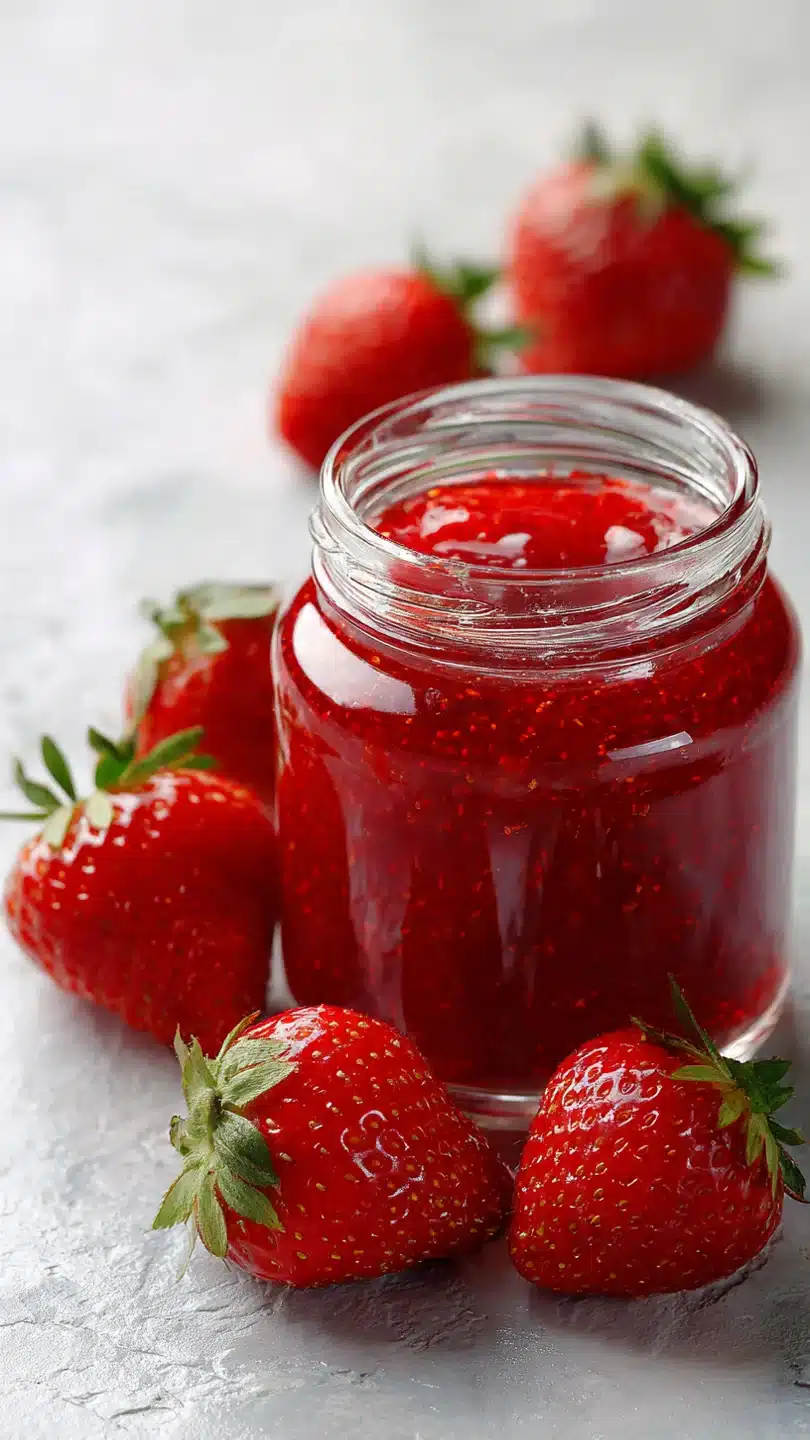
BEST Strawberry Jam
Ingredients
Equipment
Method
- In a large saucepan, combine the strawberries, sugar, and lemon juice. Stir well to coat the strawberries with the sugar and let them sit for about 10 minutes to macerate.
- Place the saucepan over medium heat and bring the mixture to a simmer, stirring occasionally. Once simmering, reduce the heat to low and let it cook for about 40-45 minutes, or until the jam thickens and reaches a temperature of 220°F (104°C).
- If using pectin, stir it in during the last 5 minutes of cooking. Continue to stir until fully dissolved.
- To test the jam’s readiness, place a small amount on a chilled plate and let it sit for a minute. If it wrinkles when pushed with your finger, it’s ready. If not, continue cooking and test again after a few minutes.
- Once the jam is ready, remove it from the heat and let it cool slightly. Pour the jam into sterilized jars, leaving about 1/4 inch of headspace. Seal the jars and let them cool completely before refrigerating.

