Ingredients
Equipment
Method
- Preheat your oven to 350°F (175°C). Line an 8x8-inch metal baking pan with parchment paper, leaving an overhang on two opposite sides. This creates a 'sling' for easy, clean removal—essential for getting that perfect, uncut square shot. Lightly grease the exposed sides of the pan.
- Create a double boiler by placing a heatproof bowl over a saucepan of barely simmering water, ensuring the bowl doesn't touch the water. Add the chopped chocolate and butter. Melt gently, stirring occasionally until completely smooth and glossy. Remove from heat and let cool for 5 minutes. This cooling step is vital; adding hot chocolate to eggs will cook them and ruin the texture.
- In a large bowl, whisk the sugar and room-temperature eggs together vigorously for a full 2-3 minutes until the mixture is pale, thick, and falls from the whisk in a ribbon. This step incorporates air and is the secret to that shiny, paper-thin crust. Whisk in the vanilla extract.
- Slowly pour the slightly cooled chocolate-butter mixture into the egg-sugar mixture, whisking constantly until fully combined and glossy. Sift the flour, cocoa powder, and salt directly into the bowl. Using a spatula, fold gently until just combined and no dry streaks remain. Overmixing leads to tough, cakey brownies that don't photograph as fudgy.
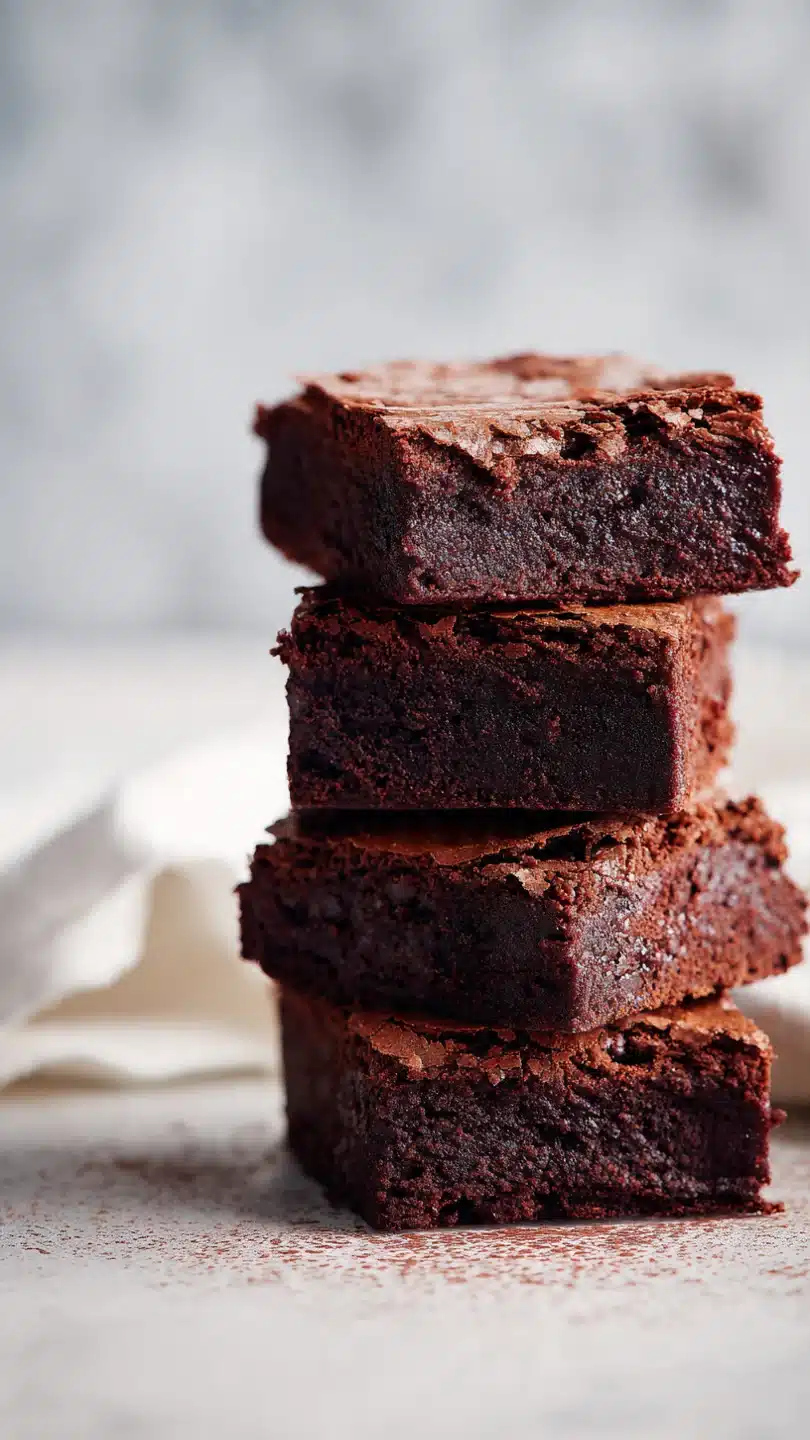
- Pour the thick batter into your prepared pan, smoothing the top with the spatula. Bake for 30-35 minutes. The key visual cue? A set, puffed center with that glorious crackly top, and a toothpick inserted 1-inch from the edge should come out with a few moist crumbs. Under-baking slightly is better for photography than over-baking. Cool completely in the pan on a wire rack before lifting out and slicing with a hot, clean knife for sharp edges.
Notes
Chef's Tips:
• For the cleanest cuts, chill the cooled brownie block for 20 minutes before slicing with a hot knife (run under hot water and dry).
• A common mistake is using cold eggs, which can cause the melted chocolate to seize and result in a dull, greasy top.
• Serve slightly warm for eating, but completely cool for photography to maintain structural integrity in shots.
Food Safety:
• Use a clean knife for each cut if photographing multiple slices to prevent smudging and maintain food safety.
• Store cooled brownies in an airtight container at room temperature for up to 3 days.