
Gluten free brownies
There’s a special kind of magic in a perfect brownie. It’s that moment when your fork glides through a dense, fudgy center, meets a crisp, paper-thin top, and delivers an intense, unapologetic chocolate hit. For years, gluten-free versions felt like a compromise—either too cakey, too gritty, or just missing that essential brownie soul.
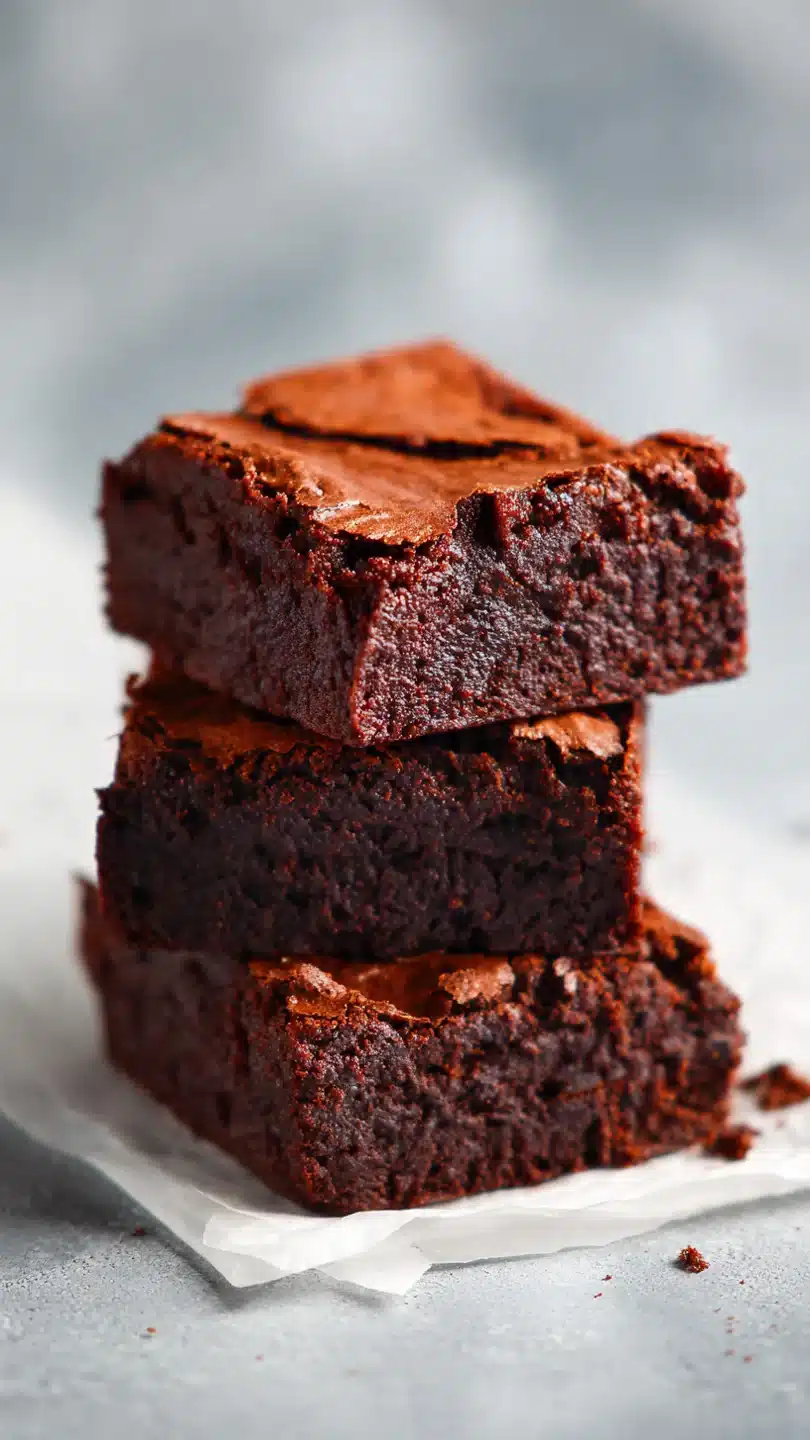
After countless tests in my professional and home kitchens, I’ve cracked the code. This recipe delivers everything you want: an ultra-rich, moist crumb, that iconic shiny, crackly top, and a deep chocolate flavor that will make everyone ask for the recipe, gluten-free or not.
- Professional-Grade Results: This isn’t an adaptation; it’s a brownie recipe designed from the ground up to be gluten-free, using almond flour for superior texture and flavor.
- Foolproof Fudgy Texture: The specific ratio of fats, sugars, and almond flour guarantees a dense, moist, and tender bite every single time, with no risk of being dry or crumbly.
- One-Bowl Simplicity: You can mix the entire batter in one bowl with simple tools. No creaming, no fussy steps—just straightforward, satisfying baking.
- Incredibly Customizable: The base recipe is a perfect canvas. I’ll show you how to easily make them dairy-free, add nuts, swirl in peanut butter, or create a minty version.
- Crowd-Pleasing Guarantee: These brownies are so decadent and delicious, they transcend dietary labels. They are simply outstanding brownies.
Ingredients You’ll Need
Let’s gather our ingredients. The beauty of this recipe lies in its simplicity and the specific role each component plays. Using the right cocoa powder and almond flour is key to that professional-quality result.
- Unsalted Butter: Melted butter gives us that dense, fudgy texture and rich flavor. For dairy-free, a high-quality plant-based butter like Miyoko’s works beautifully.
- Granulated Sugar: This is non-negotiable for achieving the classic shiny, crackly brownie top. It dissolves into the butter and eggs to create that signature crust.
- Eggs: Use large eggs at room temperature. They act as the primary binder and structure-giver, and whisking them well into the warm butter-sugar mixture is the secret to the crackly top.
- Pure Vanilla Extract: A splash enhances the depth of the chocolate.
- Unsweetened Cocoa Powder: This is your flavor powerhouse. I recommend a Dutch-process cocoa for a deeper, less acidic chocolate note, but natural works too. Sifting is essential to avoid lumps.
- Blanched Almond Flour: Not almond meal. Blanched almond flour is finely ground from skinless almonds, giving a tender, non-gritty crumb. It provides structure and a lovely, subtle nutty richness.
- Fine Sea Salt: Balances and heightens all the chocolate flavors.
- Chocolate Chips or Chunks: For molten pockets of chocolate. Ensure they’re labeled gluten-free.

Note: You’ll find the complete list of ingredients, along with their exact measurements, in the printable recipe card at the bottom of this post.
Kitchen Equipment Needed
You likely have everything you need already. An 8×8-inch metal baking pan is ideal for the right baking time and thickness. Parchment paper with overhanging edges is your best friend for flawless removal.
You’ll also need a large mixing bowl, a whisk, a spatula for folding, and a wire rack for cooling. A fine-mesh sieve for sifting the cocoa powder will ensure your batter is perfectly smooth.
How to Make Gluten-Free Brownies Recipe
Step 1: Prep and Combine Wet Ingredients
Preheat your oven to 350°F (175°C) and line your pan with parchment paper. In your large bowl, whisk the melted (and slightly cooled) butter with the sugar. You’re not looking for fluffiness here, just a well-combined, glossy mixture.
Now, add your room-temperature eggs one at a time, whisking vigorously for a good 30 seconds after each one. Believe me, this effort is what creates that beautiful, shiny, paper-like top. Stir in the vanilla.
Step 2: Incorporate the Dry Ingredients
Here’s a pro tip from my restaurant days: sift your cocoa powder directly into the wet ingredients. This prevents any stubborn lumps and ensures a silky batter. Add the almond flour and salt right on top.
Now, put the whisk away and switch to a spatula. Gently fold everything together until you have a thick, homogenous, and gloriously glossy brownie batter. It will be quite thick—that’s perfect.
Step 3: Add Mix-Ins and Pan the Batter
Fold in your chocolate chips, reserving a handful to sprinkle on top if you like. Transfer the batter to your prepared pan. Use your spatula to spread it into an even layer, getting right into the corners.
For the final touch, lift the pan an inch or two and drop it firmly on the counter a few times. This releases trapped air bubbles and helps settle the batter for an even bake and that perfect top.
Step 4: Bake to Fudgy Perfection
Place the pan in the center of your preheated oven. Bake for 30-35 minutes. Start checking at the 30-minute mark.
The top should be set and shiny with a network of cracks. The most critical test: insert a toothpick into the center. You want it to come out with a few moist crumbs clinging to it, not wet batter.
If it’s clean, they’re overbaked. Trust me, carryover heat will finish the job as they cool.
Step 5: The Crucial Cool and Serve
This is the ultimate test of patience. You must let the brownies cool completely in the pan on a wire rack. Cutting into warm brownies is a recipe for a gooey mess.
Once fully cool, use the parchment paper sling to lift the entire slab onto a cutting board. For immaculate squares, use a large, sharp knife and wipe it clean with a damp cloth between each cut. Step back and admire your work.
- Temperature is Key: Using room-temperature eggs is non-negotiable. They incorporate more easily into the butter-sugar mixture, creating a better emulsion for that crackly top. If you forget, place cold eggs in a bowl of warm water for 5-10 minutes.
- The Doneness Test: The toothpick-with-a-few-moist-crumbs is your gospel. The brownies will continue to set as they cool. Overbaking is the number one cause of dry, cakey gluten-free brownies.
- For Super Clean Cuts: If you can wait, pop the completely cooled brownie slab (once removed from the pan) into the refrigerator for 20-30 minutes. The slight chill firms up the fats, allowing you to slice through cleanly without dragging.
- Pan Size Matters: I strongly recommend a metal 8×8-inch pan. Glass or ceramic pans bake differently and often require a slightly lower temperature and longer time, which can throw off the texture.
- Measuring Almond Flour: Spoon the almond flour into your measuring cup and level it off. Do not scoop directly from the bag, as this can pack the flour and lead to a dense result.
Recipe Variations
- Salted Caramel Swirl: After spreading the batter, dollop 1/3 cup of thick salted caramel sauce over the top and use a knife to swirl it gently into the batter before baking.
- Espresso Brownies: Dissolve 1-2 tablespoons of instant espresso powder into the melted butter before adding the sugar. This deepens the chocolate flavor phenomenally without making it taste like coffee.
- Dairy-Free & Vegan Option: Use a plant-based butter and dairy-free chocolate chips. For the eggs, a tested flax egg substitute can work, though the texture will be more dense and the top less crackly.
- Peanut Butter Pocket: Drop spoonfuls of 1/2 cup of creamy peanut butter over the batter in the pan and swirl with a knife for a classic flavor combination.
- Mint Chocolate Chip: Replace the vanilla extract with 1/2 teaspoon of pure peppermint extract and use mint chocolate chips or chunks.
- Nutty Crunch: Fold 3/4 cup of toasted walnuts or pecans into the batter along with the chocolate chips for added texture.
What to Serve With This Recipe
These brownies are a star on their own, but they love company. For a decadent dessert, serve a square slightly warmed with a scoop of high-quality vanilla bean ice cream and a drizzle of chocolate sauce. They pair wonderfully with a cup of strong black coffee, a glass of cold milk, or a tawny port.
For a dessert platter, offer them alongside fresh berries and lightly sweetened whipped cream. They’re perfect for potlucks, birthday parties (just check for nut allergies), or as a deeply satisfying treat after a weeknight dinner.
Storage & Make-Ahead Instructions
- Room Temperature Storage: Once completely cool, store brownies in an airtight container at room temperature for up to 3 days. Place a piece of parchment between layers if stacking.
- Refrigerator Storage: For longer storage, up to 5 days, keep them in the fridge in an airtight container. Let them come to room temperature for the best texture and flavor.
- Freezer-Friendly: These brownies freeze exceptionally well. Wrap individual squares or the whole slab tightly in plastic wrap, then in foil or a freezer bag. Freeze for up to 3 months. Thaw overnight in the refrigerator or at room temperature.
- Make-Ahead Strategy: You can bake the brownies 1-2 days in advance. Store the uncut slab tightly wrapped at room temperature and slice just before serving. The flavor often improves after a day.
Frequently Asked Questions
Q: Can I use a different gluten-free flour blend instead of almond flour?
A: I do not recommend a 1:1 substitution. Almond flour provides specific moisture, fat, and structure. A blend will likely result in a dry, crumbly, or gummy texture.
This recipe is engineered for almond flour’s unique properties.
Q: My brownies didn’t get a shiny, crackly top. What happened?
A: The most common reasons are not whisking the eggs vigorously enough into the warm butter-sugar mixture, or the butter was too hot when the eggs were added, causing them to cook slightly. Ensure your butter is just warm to the touch, not hot.
Q: How can I make these less sweet?
A: You can reduce the sugar by 1/4 cup, but be aware this will affect the texture, making them more cake-like and less fudgy, and will likely eliminate the crackly top. The sugar is a key structural component.
Q: Are these brownies suitable for someone with celiac disease?
A: Yes, provided all your ingredients are certified gluten-free. This is especially important for items like vanilla extract, chocolate chips, and cocoa powder, which can sometimes have cross-contamination risks.
Q: Can I double this recipe?
A: Absolutely. Double all ingredients and bake in a 9×13-inch metal pan. The baking time may increase to 35-40 minutes; start checking at 35 minutes using the toothpick test.
Q: Why did my brownies sink in the middle after baking?
A: This usually indicates underbaking. The center wasn’t set enough to hold its structure as it cooled. Next time, bake for a few minutes longer, even if the toothpick has some crumbs, it shouldn’t be wet.
Q: Can I make these egg-free?
A: It’s challenging to replicate the structure and crackly top without eggs. For an egg-free version, use a commercial egg replacer suitable for baking, but expect a denser, more brownie-like texture without the classic top.
Final Thoughts
After 15 years of developing recipes, I can confidently say these gluten-free brownies stand shoulder-to-shoulder with any traditional version. They deliver on every promise: intense chocolate flavor, that dreamy fudgy center, and the satisfying snap of a perfect top. They prove that gluten-free baking doesn’t have to be about compromise, but about understanding ingredients and technique.
I hope this recipe becomes your new go-to, the one you scribble on a card to share with friends. Give it a try, follow the tips on doneness and cooling, and prepare for the best brownies of your life. I’d love to hear how yours turn out—tag me on social media or leave a comment below!
Ultimate Fudgy Gluten-Free Brownies
Ingredients
Equipment
Method
- Preheat your oven to 350°F (175°C). Line an 8×8-inch metal baking pan with parchment paper, leaving an overhang on two opposite sides for easy removal. Lightly grease any exposed pan.
- In a large mixing bowl, whisk together the melted, slightly cooled butter and granulated sugar for about 1 minute until well combined. It won’t be fluffy, but the sugar should be mostly dissolved. Add the room-temperature eggs one at a time, whisking vigorously after each addition until the mixture is smooth and slightly thickened. Stir in the vanilla extract.
- Sift the cocoa powder directly into the wet ingredients. This is crucial to avoid lumps. Add the almond flour and salt. Use a spatula to fold everything together until just combined and no dry streaks remain. The batter will be thick and glossy. Fold in the chocolate chips.
- Transfer the batter to your prepared pan, spreading it into an even layer with your spatula. For that classic crackly top, trust me and give the pan a firm tap on the counter a few times to release air bubbles.
- Bake for 30-35 minutes. Start checking at 30 minutes. The brownies are done when the top is set and shiny with a crackly surface, and a toothpick inserted into the center comes out with a few moist crumbs (not wet batter). Do not overbake.
- Let the brownies cool completely in the pan set on a wire rack. This is the hardest part, but it’s essential for clean cuts and perfect texture. Once cool, use the parchment paper to lift the entire slab out. Slice into 16 squares with a sharp knife wiped clean between cuts.


