Ingredients
Equipment
Method
- Ensure your brownies are completely cooled to room temperature. Warm brownies will create condensation inside the packaging, leading to sogginess and potential mold growth. For fudgy brownies, I recommend chilling them in the refrigerator for 30 minutes before cutting; this gives you cleaner, crumb-free edges.
- Cut your brownies into uniform, professional portions using a large chef's knife. Wipe the blade clean with a damp cloth between cuts for perfect squares. Standard sale sizes are 2x2 inches or 3x3 inches. Place each portion on a fresh, food-safe tissue paper square if desired; this adds polish and absorbs minimal excess oil.
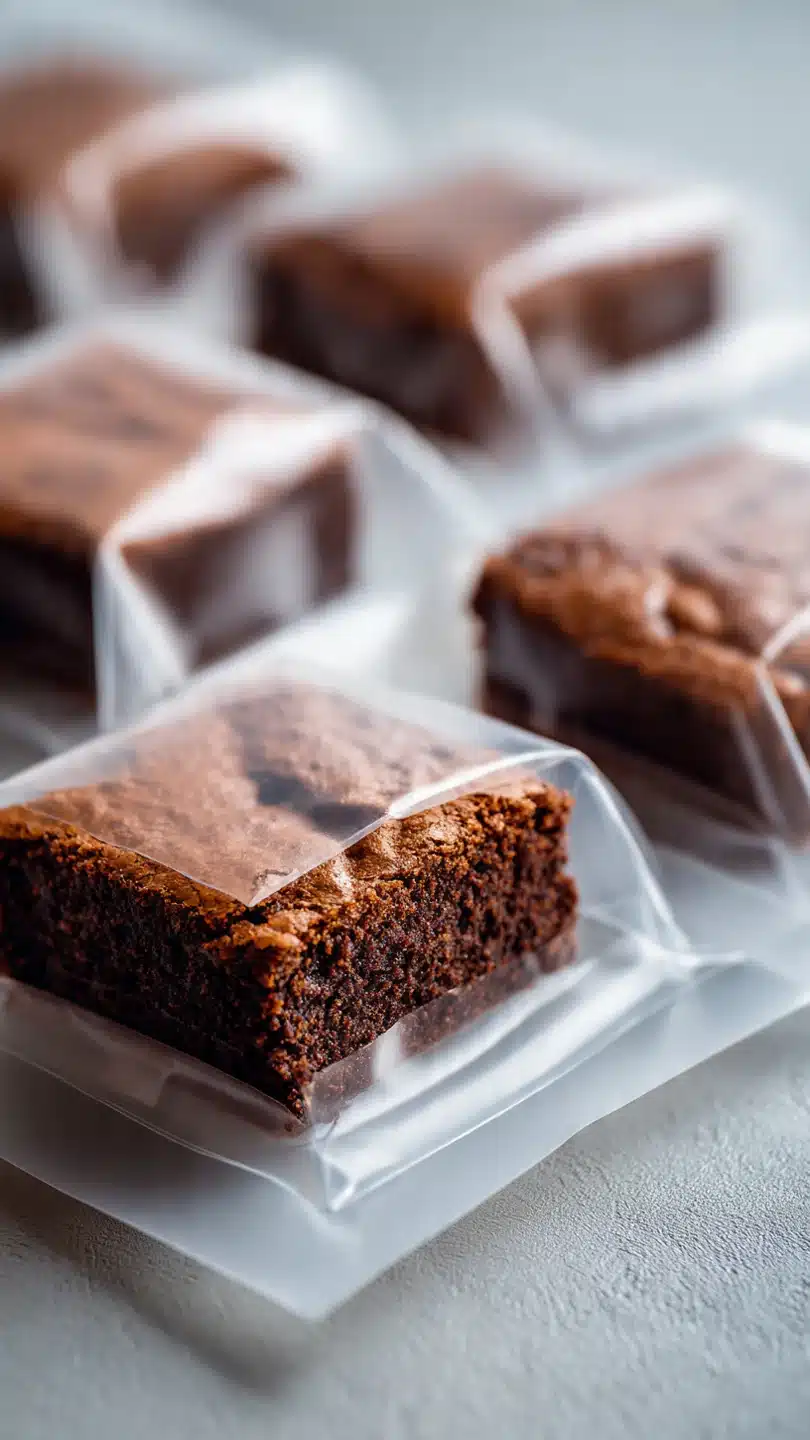
- Slide one brownie (with tissue, if using) into a clear cellophane bag. Push it gently to the bottom. For a premium look, you can use a small piece of cardboard as a backer. Leave about an inch of bag at the top for sealing. Ensure no crumbs are on the sealing area.
- Seal the bag securely. For a simple seal, gather the top and secure it tightly with a twist tie or a piece of ribbon. For a more professional, airtight seal, use a impulse heat sealer. This method is best for longer shelf life. Always seal at least 1/2 inch from the top of the brownie.
- Apply your compliant label to the sealed area or the front of the bag. The label must include: Product Name (e.g., 'Classic Fudge Brownie'), Your Business Name, Net Weight or Count, Full Ingredient List, Allergen Statement (Contains: Wheat, Eggs, Dairy), and a 'Best By' date. Place your packaged brownies carefully into a rigid bakery box for delivery or display.
Notes
Chef's Tips:
• Invest in a custom stamp or sticker for your logo—it instantly elevates homemade to artisan.
• Never use non-food-safe materials like craft store ribbons or decorative ties that touch the food.
• Display a single unwrapped brownie on a stand next to your packaged ones to show texture and quality.
Food Safety:
• Always package in a clean, pet-free area. Wash hands and wear gloves.
• Label with a conservative 'Best By' date (typically 3-5 days at room temp for brownies).