
Keto brownies
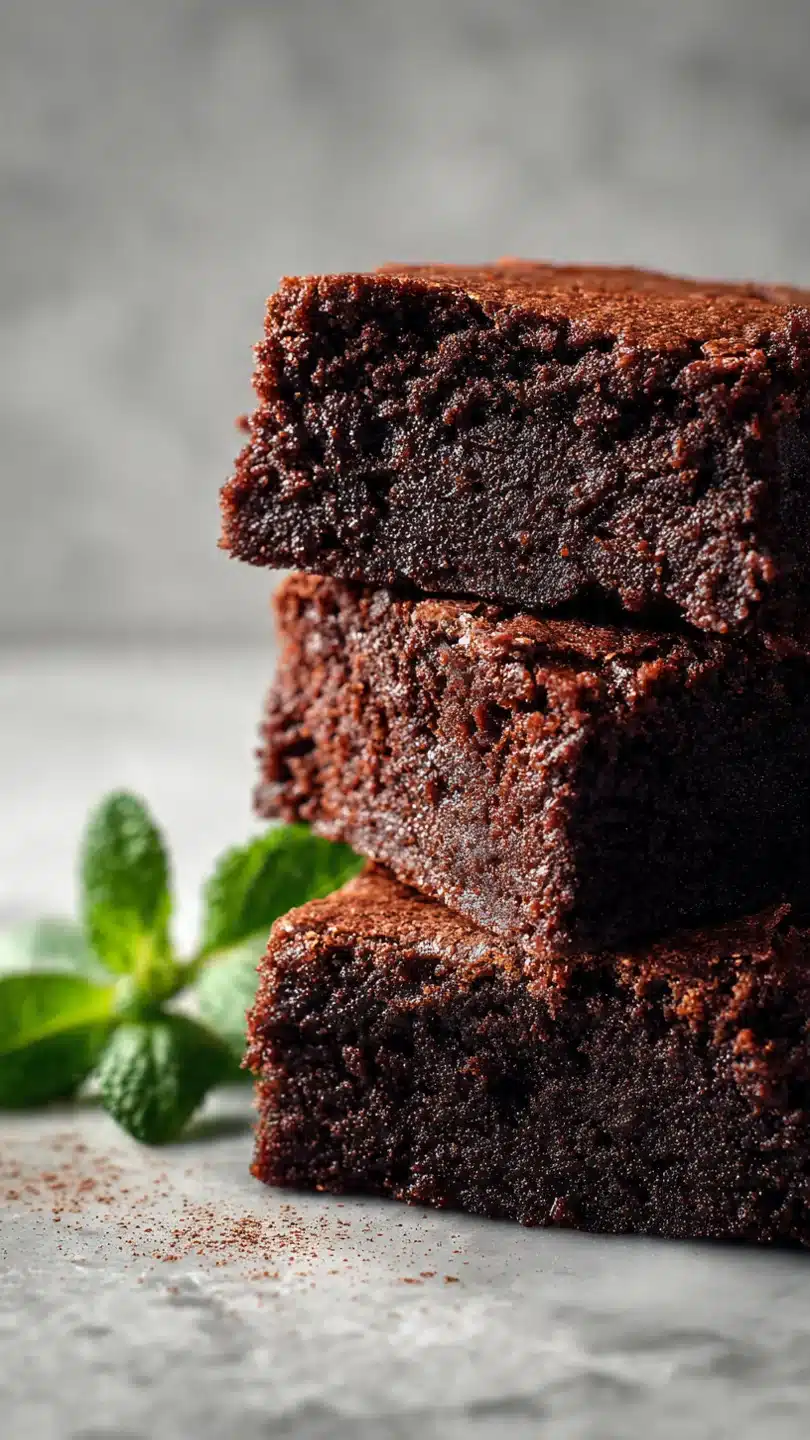
There’s a common misconception that going keto means giving up the joy of a truly decadent, fudgy brownie. I’ve tested countless versions in my professional kitchen, and I’m here to tell you that’s simply not true. The perfect keto brownie isn’t a dry, crumbly imposter; it’s a rich, chocolatey square with a crackly top and a heart that’s satisfyingly dense and moist.
This recipe is the culmination of my rigorous testing, designed to deliver that classic brownie experience without the sugar spike. Get ready to have your dessert expectations completely rewritten.
- Professional-Grade Texture: Achieves the ideal fudgy, not cakey, crumb that defines a great brownie, thanks to a precise almond flour to fat ratio.
- No Weird Aftertaste: Using a high-quality monk fruit/erythritol blend eliminates the cooling sensation or bitter notes found in some sugar-free desserts.
- Shockingly Simple: One-bowl mixing (practically!) and common ingredients mean you’re about 35 minutes from brownie bliss.
- Incredibly Versatile: The perfect base recipe for adding nuts, swirls of sugar-free caramel, or a sprinkle of sea salt to match your craving.
- Crowd-Pleasing Magic: These are so good, no one will guess they’re keto, making them the perfect treat to share without explanation.
- Meal-Prep Friendly: They store and freeze beautifully, so you can always have a satisfying, low-carb treat on hand.
Ingredients You’ll Need
Let’s gather our ingredients—this is where the magic starts. Using the right components in the right state is the secret to keto baking success. We’re building flavor and structure without traditional flour or sugar.
- Super-Fine Almond Flour: This is your flour foundation. Do not substitute with almond meal, which is coarser and will give you a gritty texture. The fine grind creates that smooth, tender bite.
- Unsweetened Cocoa Powder: This is your primary chocolate flavor. I prefer a natural cocoa powder here for its robust, slightly fruity notes. Dutch-processed will work but may yield a slightly milder taste.
- Granulated Erythritol Blend: My tested favorite is a monk fruit and erythritol blend (like Lakanto). It measures cup-for-cup like sugar, browns beautifully, and has no unpleasant aftertaste.
- Unsalted Butter: Melted butter gives us richness and that desirable fudgy density. Make sure it’s cooled slightly before adding to the eggs.
- Large Eggs: Room temperature eggs are non-negotiable. They incorporate more easily into the butter and sweetener, creating a smoother, more emulsified batter for a better rise.
- Heavy Cream: A splash of cream adds moisture and fat, ensuring our brownies stay supremely moist. Unsweetened almond milk can be used for a dairy-free version, but the result will be slightly less rich.
- Pure Vanilla Extract: A flavor enhancer that rounds out the chocolate.
- Baking Powder: Just a touch gives a slight lift without making the brownies cakey.
- Salt: Balances the sweetness and intensifies the chocolate flavor.
- Sugar-Free Dark Chocolate Chips: Optional, but I highly recommend them. They create those irresistible melty pockets of chocolate throughout.

Note: You’ll find the complete list of ingredients, along with their exact measurements, in the printable recipe card at the bottom of this post.
Kitchen Equipment Needed
You don’t need any specialty gear. An 8×8 inch square baking pan is ideal for the right thickness. Parchment paper is my #1 tip for perfect, easy removal and clean cuts—don’t skip it.
You’ll need a couple of mixing bowls, a whisk for combining your wet ingredients smoothly, and a spatula for folding. A wire cooling rack is helpful but not essential. That’s it!
How to Make Keto Brownies Recipe
Step 1: Prep Your Pan and Oven
Preheat your oven to 350°F (175°C). This ensures a consistent temperature for even baking. Now, line your 8×8 inch pan with parchment paper, leaving an overhang on two opposite sides.
Believe me, this simple step is the difference between brownies that stick and brownies that lift out in one perfect slab for pristine slicing. Lightly grease any exposed parts of the pan.
Step 2: Combine the Dry Ingredients
In a medium bowl, add your almond flour, cocoa powder, baking powder, and salt. Take a moment to whisk them together thoroughly. This isn’t just about mixing; it’s about aerating the almond flour and breaking up any lumps in the cocoa.
A uniform dry mix prevents pockets of bitter cocoa or dense flour in your finished brownies.
Step 3: Create the Wet Base
In a large bowl, whisk together the slightly cooled melted butter and your granulated sweetener. Add the room-temperature eggs, one at a time, whisking well after each until the mixture is smooth. Now whisk in the heavy cream and vanilla.
Tip from me: You’re looking for a slightly thickened, homogenous liquid. This emulsion is key for structure.
Step 4: Bring the Batter Together
Pour your whisked dry ingredients into the bowl with the wet ingredients. Switch to a spatula. Gently fold and stir until the flour is just incorporated and no dry streaks remain.
Overmixing is the enemy of tender brownies, as it can develop the proteins in the almond flour. Now, fold in your sugar-free chocolate chips, if using.
Step 5: Bake to Perfection
Pour the thick, luxurious batter into your prepared pan. Use the spatula to spread it evenly into all the corners. Place it in the center of your preheated oven.
Bake for 22-25 minutes. The top should look set and have a beautiful, shiny crackle. The true test?
A toothpick inserted about an inch from the edge should come out with a few moist crumbs attached, not wet batter. Trust me, they will continue to set as they cool.
Step 6: The Crucial Cool and Serve
This is the test of patience. You must let the brownies cool completely in the pan on a wire rack. Cutting into warm brownies will result in a gooey mess.
Once completely cool, use the parchment paper “handles” to lift the entire slab onto a cutting board. Use a sharp knife to slice into 12 perfect squares. Step back and admire your work before enjoying one (or two).
- Ingredient Temperature is Key: Using room-temperature eggs is a professional secret. Cold eggs can cause the melted butter to seize up, resulting in a greasy, separated batter. Plan ahead and let your eggs sit out for 30 minutes.
- The Doneness Test: The toothpick trick is everything. If it comes out completely clean, the brownies are over-baked and will be dry. You want those fudgy crumbs. For ultra-fudgy results, err on the side of under-baking by a minute.
- For a Crackly Top: The crackly top comes from properly dissolving the sweetener in the wet ingredients and having the right amount of eggs. Whisk your butter, sweetener, and eggs vigorously for a full minute to help create that signature crust.
- Clean Cuts Every Time: For picture-perfect squares, wipe your knife clean with a damp cloth between each cut. This prevents dragging crumbs and gives you those sharp, clean edges.
Recipe Variations
- Salted Caramel Swirl: Before baking, dollop 1/4 cup of sugar-free caramel sauce over the batter and use a knife to swirl it gently for a marbled effect.
- Espresso Kick: Add 1-2 teaspoons of instant espresso powder to the dry ingredients. It won’t make them taste like coffee, but it will deepen and intensify the chocolate flavor phenomenally.
- Nutty Crunch: Fold in 1/2 cup of chopped pecans or walnuts along with the chocolate chips for added texture and healthy fats.
- Peanut Butter Paradise: Drop small spoonfuls of unsweetened peanut butter onto the batter after pouring it into the pan, then swirl with a knife.
- Mint Chocolate: Add 1/2 teaspoon of pure peppermint extract to the wet ingredients along with the vanilla for a refreshing twist.
- Dairy-Free Version: Substitute the butter with melted coconut oil and the heavy cream with unsweetened almond milk. The texture will be slightly different but still delicious.
- Berry Burst: Scatter a handful of fresh or frozen raspberries over the batter before baking. The tart berries cut through the richness beautifully.
What to Serve With This Recipe
These brownies are a star on their own, but they can anchor a fantastic dessert spread. For a simple upgrade, serve a square slightly warmed with a scoop of sugar-free vanilla ice cream or a dollop of whipped cream sweetened with a touch of stevia. For a dinner party, crumble a brownie into a glass and layer it with keto-friendly chocolate mousse and berries for an elegant parfait.
Beverage-wise, they pair wonderfully with a cup of black coffee, a glass of unsweetened almond milk, or, for adults, a glass of cabernet sauvignon whose bold notes complement the dark chocolate.
Storage & Make-Ahead Instructions
- Room Temperature Storage: Store cooled brownies in an airtight container at room temperature for up to 2 days. Place a piece of parchment between layers if stacking.
- Refrigerator Storage: For longer storage, keep them in the refrigerator for up to 1 week. The cool temperature makes them even fudgier. Let them come to room temperature or warm briefly before serving.
- Freezer-Friendly: These brownies freeze exceptionally well. Wrap individual squares tightly in plastic wrap, then place them in a freezer bag or container. They will keep for up to 3 months. Thaw at room temperature or microwave for 15-20 seconds.
- Make-Ahead Strategy: You can bake the brownies up to 2 days in advance. Store the uncut slab, wrapped tightly, at room temperature or in the fridge, and slice just before serving for the freshest presentation.
Frequently Asked Questions
Q: Can I use coconut flour instead of almond flour?
A: No, they are not a 1:1 substitute. Coconut flour is extremely absorbent and requires completely different liquid and egg ratios. Using it in this recipe would create a dry, crumbly brick.
Q: My sweetener has a cooling aftertaste. What can I do?
A: This is common with pure erythritol. I strongly recommend using a blend that includes monk fruit or allulose, which masks that cooling sensation. Adding a pinch of salt to the batter also helps balance flavors.
Q: Why are my brownies dry and cakey?
A: The most likely culprits are over-measuring the almond flour (spoon and level, don’t scoop!) or over-baking. Remember, the toothpick should have moist crumbs, not be clean. Also, ensure you’re using super-fine almond flour, not meal.
Q: Can I double this recipe?
A: Absolutely. Double all ingredients and bake in a 9×13 inch pan. You will likely need to add 5-7 minutes to the baking time.
Always rely on the visual and toothpick tests for doneness.
Q: Are these brownies suitable for a diabetic diet?
A: I am not a medical professional. However, they are made with zero-glycemic sweeteners and low-carb ingredients. Anyone with specific dietary concerns should consult their doctor and calculate net carbs based on their specific brand of ingredients.
Q: The center sank after cooling. What happened?
A: A slight dip in the center is normal for fudgy brownies. A significant sink usually indicates under-baking or opening the oven door too early in the baking process, which causes a sudden drop in temperature.
Q: Can I make these without eggs?
A: I have not tested an egg-free version for this specific recipe. Eggs provide crucial structure and lift. A flax “egg” may work but will significantly alter the texture, likely making them more dense and gummy.
Final Thoughts
After 15 years of professional cooking, I judge a recipe not by how complicated it is, but by how reliably it delivers joy. These keto brownies pass that test with flying colors. They prove that dietary choices don’t mean sacrificing indulgence.
With their crackly top, rich chocolate depth, and satisfyingly fudgy center, they are a treat you can feel genuinely good about. I encourage you to make them, share them, and see for yourself. Once you try this method, I doubt you’ll ever miss the sugar-laden version.
Don’t forget to rate the recipe below and let me know what variation you tried—I love hearing your kitchen successes!
Ultimate Fudgy Keto Brownies
Ingredients
Equipment
Method
- Preheat your oven to 350°F (175°C). Line an 8×8 inch baking pan with parchment paper, leaving an overhang on two sides for easy removal. This is non-negotiable for clean cuts.
- In a medium bowl, whisk together the almond flour, cocoa powder, baking powder, and salt. Ensure there are no lumps. In a separate large bowl, whisk the melted butter, granulated sweetener, eggs, heavy cream, and vanilla extract until completely smooth and slightly thickened, about 1 minute.
- Add the dry ingredients to the wet ingredients. Use a spatula to fold and stir until just combined and no dry streaks remain. Be careful not to overmix. Fold in the sugar-free chocolate chips, if using.
- Pour the thick batter into your prepared pan. Use the spatula to spread it evenly into the corners. Bake for 22-25 minutes. The top should look set and have a slight crackle, and a toothpick inserted 1 inch from the edge should come out with moist crumbs, not wet batter.
- Let the brownies cool completely in the pan on a wire rack. This is the hardest part, but trust me, it’s crucial for them to set. Once cool, use the parchment paper to lift them out onto a cutting board. Slice into 12 squares with a sharp knife.


