
Cute decorated brownies
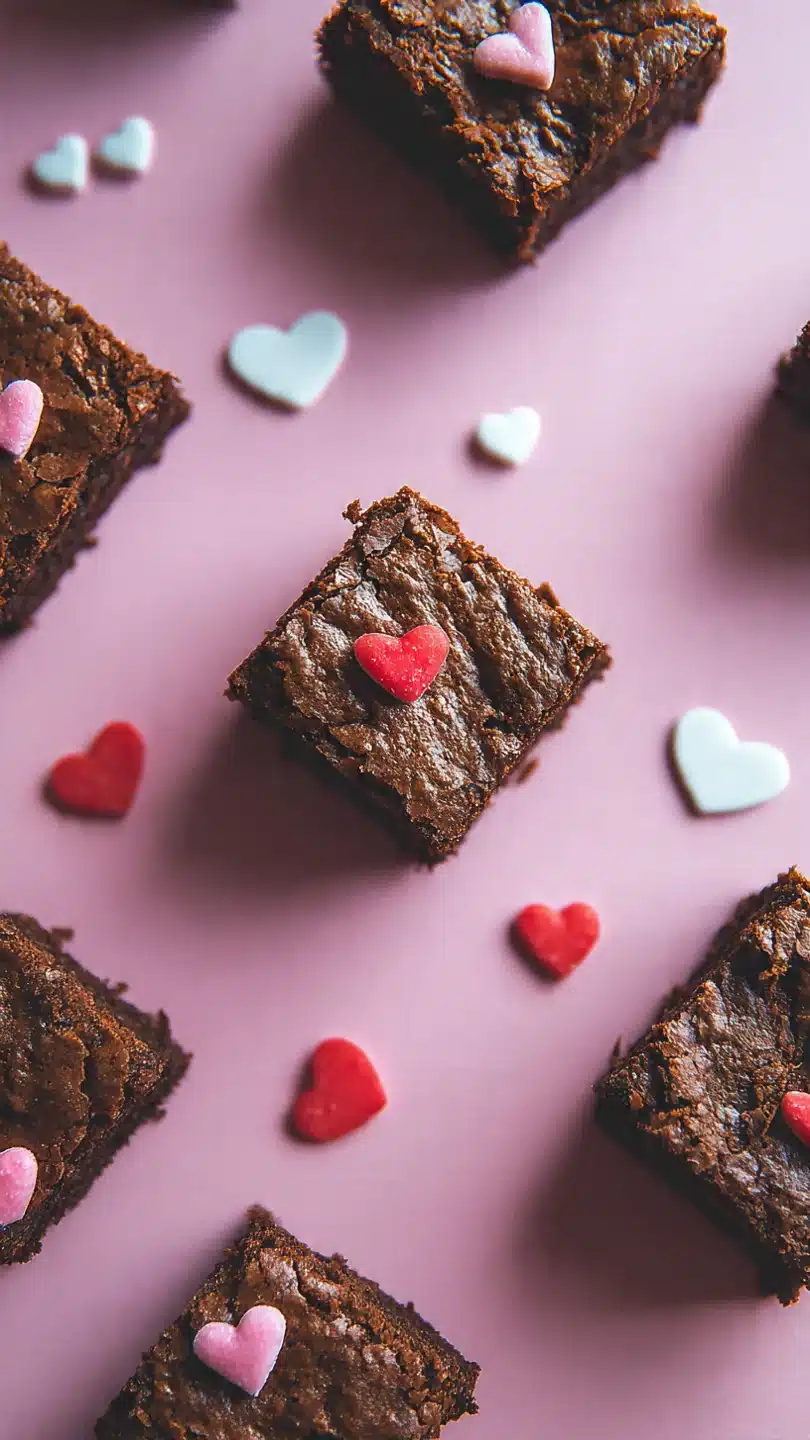
There’s something universally joyful about a platter of cute decorated brownies. They’re not just a dessert; they’re little edible canvases that promise rich chocolate flavor and a burst of playful creativity. Whether you’re prepping for a birthday party, a school bake sale, or just want to make a Tuesday feel special, mastering this simple art is a game-changer.
As a chef, I love recipes that deliver on both taste and presentation without requiring professional pastry skills. This one is my go-to: a reliably fudgy, dense brownie base that acts as the perfect foundation for buttercream, sprinkles, candies, and more. Let’s turn a classic treat into a show-stopping centerpiece.
- Foolproof Fudgy Base: The specific mixing method ensures a dense, moist texture that holds up under decorations without crumbling.
- Endless Creativity: From simple sprinkles to intricate piping, these brownies adapt to any theme, holiday, or skill level.
- Make-Ahead Friendly: The brownies themselves can be baked days in advance and decorated just before serving, easing party prep.
- Kid-Friendly Project: The decorating stage is a fantastic, low-pressure way to get little hands involved in the kitchen.
- Consistently Delicious: Tested multiple times to guarantee perfect results, with clear visual cues so you never overbake.
- Crowd-Pleasing Appeal: Universally loved, easily transportable, and always the first dessert to disappear from any table.
Ingredients You’ll Need
Gathering your ingredients is the first step to baking success. For the best decorated brownies, you need a base that’s sturdy yet tender—not cakey or dry. Using room temperature eggs is a small step with a big impact; it allows them to emulsify more readily with the butter and sugar, creating that signature fudgy texture.
I recommend a good-quality natural cocoa powder for a deep chocolate flavor, but Dutch-processed works too. The chocolate chips melt into pockets of gooey goodness, but feel free to swap them for chopped chocolate bars. Remember, the quality of your base directly affects your final decorated masterpiece, so it’s worth using the real vanilla extract and good butter.

Note: You’ll find the complete list of ingredients, along with their exact measurements, in the printable recipe card at the bottom of this post.
Kitchen Equipment Needed
You don’t need any specialty gear. A standard 9×13 inch metal baking pan is ideal for even heat distribution. Lining it with parchment paper is my non-negotiable pro tip—it guarantees you can lift the entire slab out for flawless, crumb-free cutting and decorating.
You’ll need a couple of mixing bowls, a whisk for the wet ingredients, and a spatula for folding. A wire cooling rack is essential for bringing the brownies down to room temperature quickly and evenly. For cutting, a sharp chef’s knife or a bench scraper will give you those clean, professional edges.
If you plan to pipe designs, a set of disposable piping bags and tips (like Wilton #1 or #2) is helpful but not required; a zip-top bag with a corner snipped off works perfectly.
How to Make Cute Decorated Brownies Recipe
Step 1: Prepare Your Pan and Mix the Wet Base
Preheat your oven to 350°F (175°C). Take a moment to properly line your baking pan with parchment paper, leaving an overhang on two sides. This is your ticket to perfect, unmangled brownies.
In a large bowl, whisk the melted, slightly cooled butter and granulated sugar together for a full minute. This isn’t just mixing; you’re dissolving the sugar into the butter to create a smooth foundation. Now, add your room-temperature eggs one at a time, whisking vigorously after each until the mixture looks glossy and slightly thickened.
Believe me, this effort builds the structure for that dense, fudgy crumb we love. Stir in the vanilla.
Step 2: Gently Combine Dry Ingredients
Sift the flour, cocoa powder, and salt directly into the wet ingredients. Sifting is crucial here—it breaks up any lumps in the cocoa and aerates the flour for a more tender bite. Using a spatula, fold the mixture together with gentle, sweeping motions.
Tip from me: stop folding the moment you see no more dry streaks. Overmixing develops gluten, leading to tough, cakey brownies. Once combined, fold in the chocolate chips.
The batter will be very thick and luxurious.
Step 3: Bake to Fudgy Perfection
Transfer the thick batter to your prepared pan and use the spatula to spread it into an even layer. Bake for 30-35 minutes. Here’s the critical part: do not rely on time alone.
Start checking at 30 minutes. The brownies are done when the edges are set and pulling away slightly from the pan, and a toothpick inserted about 2 inches from the edge comes out with a few moist crumbs clinging to it. If it comes out clean, they’re overbaked.
The center will still look soft but not liquid. Trust the process.
Step 4: The Crucial Cool Down
This is the step that tests your patience! Place the pan on a wire cooling rack and let the brownies cool completely right in the pan. This usually takes at least 2 hours.
Decorating warm brownies will cause any frosting to melt and slide right off, creating a mess. For even cleaner cuts, you can chill the cooled slab in the refrigerator for 30 minutes before the next step. Once cool, use the parchment paper overhang to gently lift the entire brownie slab onto a cutting board.
Step 5: Cut, Decorate, and Serve
Using a sharp knife (wipe it clean with a damp cloth between cuts for pristine edges), slice your brownies into squares or rectangles. Now for the fun part—decorating! Arrange your toppings and icings.
Start with a simple drizzle of melted chocolate or a smooth layer of buttercream. Add sprinkles, crushed candy, or edible glitter. Step back and admire your handiwork.
These cute creations are best served at room temperature so the frosting is soft and the brownie is fudgy.
- Pro Tip for Cutting: For absolutely perfect, crumb-free squares, use a plastic bench scraper and press straight down—don’t saw. Chilling the brownies first makes this even easier.
- Temperature Matters: Allowing the melted butter to cool slightly before adding the sugar prevents the eggs from cooking. Room temperature eggs incorporate much more smoothly.
- Doneness Test: The toothpick test is your best friend. Moist crumbs are your goal; wet batter needs more time, a clean toothpick means they’re overdone.
- Frosting Foundation: If using buttercream, ensure your brownies are completely cool. A thin “crumb coat” layer, chilled for 15 minutes, followed by a final coat, gives a super smooth finish for detailed decorating.
- Storage Strategy: Store undecorated brownies tightly wrapped at room temperature for 3 days. Decorated brownies with perishable toppings should be refrigerated.
Recipe Variations
- Peppermint Patty: Add 1/2 tsp peppermint extract to the batter. Decorate with white chocolate drizzle and crushed candy canes.
- Salted Caramel: After baking, poke holes in the warm brownies and drizzle with 1/2 cup of warm salted caramel sauce. Let cool, then decorate with flaky sea salt.
- Cookies & Cream: Fold 1 cup of crushed Oreo pieces into the batter instead of chocolate chips. Decorate with dollops of vanilla buttercream and more cookie crumbs.
- Raspberry Cheesecake: Swirl 1/2 cup of seedless raspberry jam into the batter before baking. Top cooled brownies with piped cheesecake frosting (cream cheese based) and a fresh raspberry.
- Gluten-Free Adaptation: Substitute the all-purpose flour with a 1:1 gluten-free baking blend. The texture will be slightly more delicate but still delicious.
- Vegan Option: Use vegan butter, flax eggs (1 tbsp ground flax + 3 tbsp water per egg), and dairy-free chocolate chips. Decorate with vegan buttercream.
What to Serve With This Recipe
These decorated brownies are a star on their own, but they shine even brighter as part of a dessert spread. For a birthday party, pair them with a scoop of vanilla bean ice cream and a colorful fruit salad to balance the richness. They’re perfect for holiday cookie exchanges alongside sugar cookies and fudge.
For a cozy gathering, serve with freshly brewed coffee, cold milk, or a dessert wine like a ruby port. Consider a “brownie decorating bar” at your next event: set out plates of plain brownie squares with bowls of different frostings, sprinkles, candies, and edible markers for guests to create their own.
Storage & Make-Ahead Instructions
- Make-Ahead: The baked, undecorated brownie slab can be wrapped tightly in plastic wrap and stored at room temperature for 2 days or frozen for up to 3 months. Thaw overnight before decorating.
- Room Temperature Storage: Decorated brownies with stable toppings (like sprinkles or hardened chocolate) can be stored in a single layer in an airtight container at room temperature for 2 days.
- Refrigerator Storage: If your decorations include cream cheese frosting, whipped cream, or fresh fruit, store the brownies in the fridge for up to 4 days. Let them sit at room temperature for 20 minutes before serving for the best texture.
- Freezing: Freeze undecorated brownies for best results. Place cut squares on a parchment-lined tray, freeze until solid, then transfer to a freezer bag. They’ll keep for 3 months. Decorate after thawing.
Frequently Asked Questions
Q: Can I use a glass or ceramic pan instead of metal?
A: You can, but be cautious. Glass and ceramic retain heat differently and can lead to overbaked edges. If using glass, reduce the oven temperature by 25°F and check for doneness a few minutes earlier.
Q: My buttercream is sliding off the brownies. What did I do wrong?
A: This almost always means the brownies were still warm or the frosting was too soft. Ensure the brownies are completely cool to the touch. If your kitchen is warm, chill the frosted brownies for 10 minutes to set the icing.
Q: Can I double this recipe?
A: I don’t recommend doubling and baking in one pan, as it will not bake evenly. Instead, make two separate batches and bake in two 9×13 pans, or use a larger half-sheet pan (18×13) and increase the bake time, watching carefully.
Q: What’s the easiest way to decorate for a beginner?
A: Start with a simple drizzle! Melt chocolate chips with a tiny bit of coconut oil, put it in a zip-top bag, snip a tiny corner, and zig-zag it over the brownies. Immediately add sprinkles so they stick.
Q: How do I get really bright-colored frosting?
A: Use gel food coloring, not liquid. Liquid coloring can thin your frosting and requires many drops to achieve vibrant hues. Gel colors are highly concentrated and won’t alter the frosting’s consistency.
Q: Can I make these brownies less sweet?
A: You can reduce the sugar by 1/4 cup, but note this will slightly affect the texture and fudginess. The cocoa and chocolate chips provide bitterness that balances the sweetness well.
Q: Why did my brownies turn out cakey?
A: The most common causes are overmixing the batter after adding flour (which develops gluten) or overbaking. Remember to fold gently and remove them from the oven when the toothpick has moist crumbs.
Final Thoughts
Creating cute decorated brownies is one of the most satisfying kitchen projects. It combines the reliable comfort of a classic chocolate dessert with the pure joy of edible art. This recipe gives you a failsafe, fudgy foundation—the blank canvas—and from there, your imagination is the only limit.
Whether you go for minimalist elegance with a gold leaf flake or full-on rainbow sprinkle explosion, the process is meant to be fun and the results are guaranteed to delight. I’ve used this base for countless events, from professional catering gigs to messy, happy baking sessions with my nieces. So, gather your sprinkles, take a deep breath, and remember that even a simple drizzle makes them special.
I’d love to see your creations—tag me on social media or leave a comment below telling me about your favorite decorating combo! Happy baking
Fudgy Decorated Brownies
Ingredients
Equipment
Method
- Preheat your oven to 350°F (175°C). Line a 9×13 inch metal baking pan with parchment paper, leaving an overhang on two sides for easy removal. This is non-negotiable for clean, perfect brownies you can decorate easily.
- In a large bowl, whisk together the melted butter and sugar for a full minute until well combined. Add the eggs one at a time, whisking vigorously after each addition until the mixture is smooth and slightly thickened. Stir in the vanilla. This step builds structure for a fudgy, not cakey, texture.
- Sift the flour, cocoa powder, and salt directly into the wet ingredients. Use a spatula to fold gently until just combined and no dry streaks remain. Fold in the chocolate chips. Overmixing here leads to tough brownies, so be gentle.
- Spread the thick batter evenly into your prepared pan. Bake for 30-35 minutes. The key test is a toothpick inserted 2 inches from the edge should come out with moist crumbs, not wet batter. The center will look set but still soft. Trust me, they’ll firm up as they cool.
- Let the brownies cool completely in the pan on a wire rack. This is crucial—decorating warm brownies is a messy disaster. Once cool, use the parchment overhang to lift the entire slab onto a cutting board. Slice into squares with a sharp knife wiped clean between cuts.


