
Mississippi mud brownies
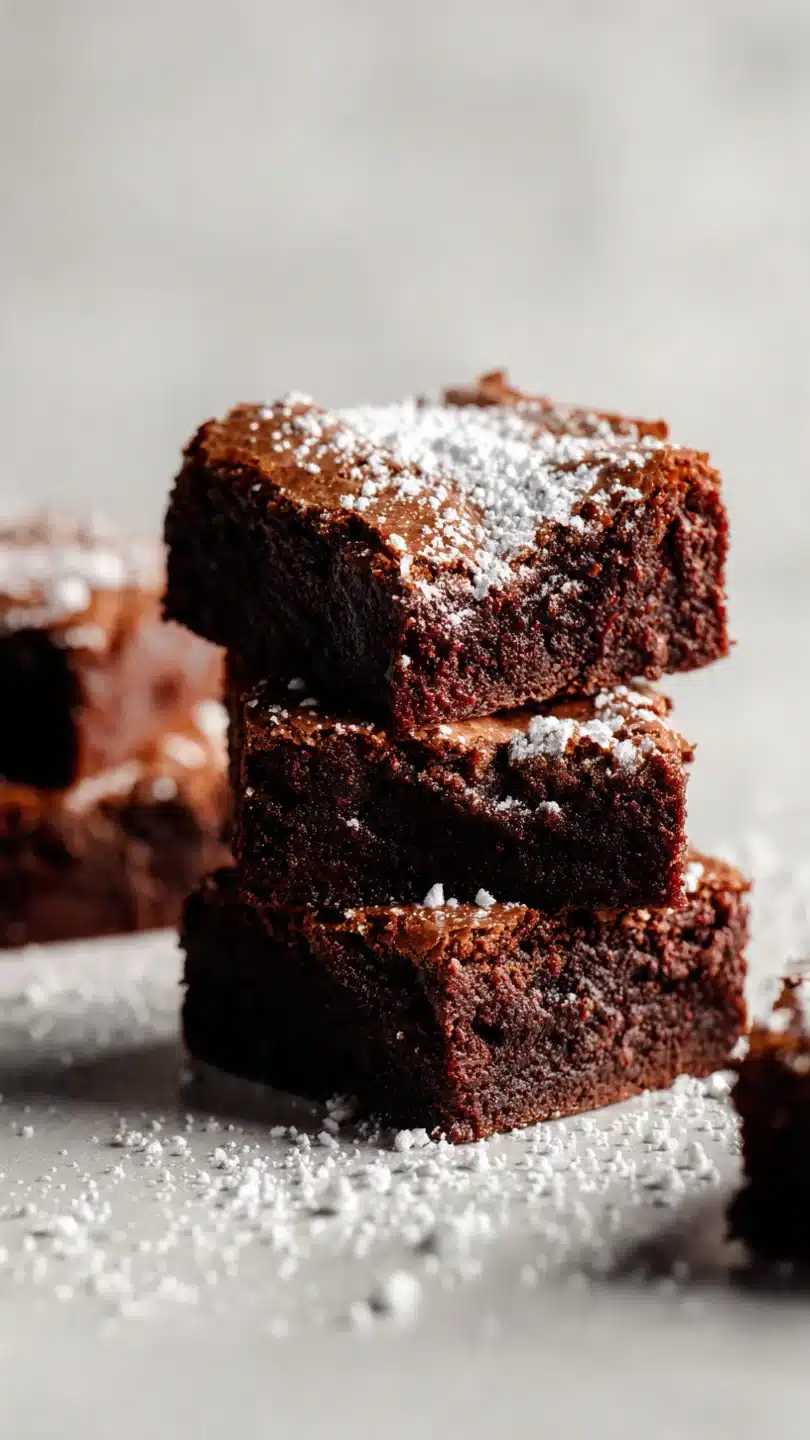
There’s a certain magic in a dessert that’s unapologetically indulgent. Imagine the deepest, most fudgy brownie you’ve ever tasted, topped with a blanket of melted, gooey marshmallows, all sealed under a glossy river of chocolate frosting. That’s the promise of a proper Mississippi mud brownie.
It’s a dessert born for potlucks, bake sales, and those days when only the most decadent chocolate fix will do. As a chef, I appreciate its brilliant layering of textures—dense, chewy, gooey, and smooth—all achieved with straightforward techniques. This is my tested, no-fuss version that delivers that iconic, messy perfection every single time.
This recipe is designed for maximum satisfaction with minimal fuss. Here’s what makes it a keeper:
- One-Bowl Simplicity: The fudgy brownie base comes together in a single bowl with a whisk and spatula, meaning less cleanup and more time to enjoy the results.
- Legendary Texture Contrast: You get the perfect trio: a dense and chewy brownie bottom, a sticky-sweet marshmallow middle, and a silky-smooth frosting top in every bite.
- Foolproof Method: With clear visual cues and simple steps, this recipe is accessible for bakers of all levels. I’ve tested the timing so you get that iconic gooey layer just right.
- Crowd-Pleasing Power: These brownies are guaranteed to disappear at any gathering. Their rich, chocolatey appearance and taste make them an instant favorite.
- Make-Ahead Friendly: They store beautifully and actually taste even better the next day as the flavors meld, making them perfect for planning ahead.
Ingredients You’ll Need
- Let’s gather our ingredients—this is where simple pantry staples transform into something spectacular. Using quality basics here makes a noticeable difference.
For the Fudgy Brownie Base:
- Unsalted butter: Melted and slightly cooled. It provides rich flavor and that coveted fudgy texture.
- Granulated sugar: Sweetens and helps create a shiny, crackly top on the brownie layer.
- Eggs: Use large, room-temperature eggs for better emulsion and a richer crumb.
- Pure vanilla extract: A must for depth of flavor. Avoid imitation.
- All-purpose flour: Spoon and level it into your measuring cup to avoid a dry, cakey brownie.
- Unsweetened cocoa powder: The star. I prefer natural cocoa for a more intense chocolate flavor, but Dutch-process works too.
- Salt: Balances the sweetness and enhances the chocolate flavor.
For the Gooey Marshmallow Layer:
- Mini marshmallows: Their small size melts and puffs evenly, creating a uniform layer. A standard 10.5-ounce bag is perfect.
For the Chocolate Frosting:
- Unsalted butter, milk, and cocoa powder: Heated together to create a smooth, liquid base for the frosting.
- Powdered sugar: Sift it! This prevents lumps in your glossy frosting.
- Vanilla and salt: The finishing flavor notes that make the frosting taste complex, not just sweet.

Note: You’ll find the complete list of ingredients, along with their exact measurements, in the printable recipe card at the bottom of this post.
Kitchen Equipment Needed
You don’t need any specialty gear. A 9×13-inch metal baking pan is ideal for even baking and browning. Parchment paper with overhangs is non-negotiable for easy removal of these sticky bars.
A large mixing bowl, whisk, and rubber spatula handle the base. A medium saucepan is perfect for the frosting, and a fine-mesh sieve makes sifting cocoa and powdered sugar effortless. Finally, a wire cooling rack is essential for letting the brownies cool properly before frosting.
How to Make Mississippi Mud Brownies Recipe
Step 1: Mix the Fudgy Brownie Base
Preheat your oven to 350°F (175°C) and prepare your pan with parchment paper. In your large bowl, whisk the melted butter and sugar until they’re fully combined. It won’t be fluffy, just smooth.
Now, whisk in the eggs one at a time, ensuring each is fully incorporated before adding the next, followed by the vanilla. Believe me, this patient addition helps create that dense, fudgy texture we’re after. Your mixture will become slightly thicker and paler in color.
Step 2: Fold in the Dry Ingredients
Here’s where we build structure. Sift the flour, cocoa powder, and salt directly into the wet ingredients. Sifting is crucial—it breaks up lumps and aerates the dry goods for a smoother batter.
Using your spatula, gently fold everything together until you no longer see any dry streaks. The batter will be very thick, glossy, and almost paste-like. This is exactly what you want for a dense brownie.
Step 3: Bake and Add the Marshmallows
Spread the thick batter evenly into your prepared pan; it will be a thin layer. Bake for 20-25 minutes. You’re looking for the top to look set and a toothpick inserted into the center to come out with a few moist crumbs attached—not wet batter.
The second you pull the pan from the oven, evenly blanket the entire hot surface with the mini marshmallows. Tip from me: work quickly but carefully. Immediately return the pan to the oven for just 3-4 more minutes.
The marshmallows will puff and soften but won’t melt into a liquid. This creates that perfect sticky layer.
Step 4: Cool Completely
Place the pan on a wire rack and walk away. Let the brownies cool completely in the pan. This is a test of patience!
As they cool, the puffed marshmallows will collapse into a wonderfully tacky, gooey sheet. Rushing this step and adding warm frosting will cause a melted mess, so let the pan feel completely cool to the touch.
Step 5: Make the Frosting and Finish
Now for the crowning glory. In your saucepan, melt the butter with the milk and cocoa powder over medium-low heat, whisking constantly until it’s smooth and just begins to simmer. Remove it from the heat.
Whisk in the sifted powdered sugar, vanilla, and salt until you have a perfectly smooth, pourable chocolate glaze. Let it cool for about 5 minutes to thicken slightly. Then, pour it evenly over the cooled marshmallow layer.
Gently tilt the pan to help it spread to the edges. Let the frosting set for at least an hour before slicing with a hot, wet knife for those beautiful, clean layers. Step back and admire your masterpiece.
A few chef-driven insights will guarantee your brownies are perfect:
- Temperature is Key: Use room-temperature eggs for your base. Cold eggs can cause the melted butter to seize, resulting in a greasy batter. For the frosting, let it cool slightly so it’s pourable but not so hot it melts the marshmallow layer.
- The Toothpick Test: For the fudgiest texture, pull the brownie base when the toothpick has a few sticky crumbs. If it comes out clean, the brownie is overbaked and will be cakier.
- Sifting Matters: Never skip sifting your cocoa and powdered sugar. Cocoa loves to clump, and those clumps will create dry pockets in your brownie and a lumpy frosting.
- The Hot Knife Trick: For pristine slices that show off all the gorgeous layers, run your chef’s knife under very hot water, wipe it dry, and make your cut. Clean and reheat the knife between each cut.
Recipe Variations
- This classic recipe is wonderfully adaptable. Here are some tested twists:
- Nutty Mud Brownies: Fold 1 cup of chopped toasted pecans or walnuts into the brownie batter before baking for a delightful crunch.
- Peanut Butter Swirl: Before adding marshmallows, dollop 1/2 cup of warm peanut butter over the hot brownie base and swirl gently with a knife. Then add marshmallows and proceed.
- Mint Chocolate Version: Add 1/2 teaspoon of peppermint extract to the chocolate frosting for a refreshing twist that pairs beautifully with the rich layers.
- Salted Caramel Drizzle: After frosting, drizzle the top with 1/4 cup of store-bought or homemade salted caramel sauce for an extra layer of sweet-salty complexity.
- Gluten-Free Adaptation: Substitute the all-purpose flour with a 1:1 gluten-free baking blend. The texture will be nearly identical.
What to Serve With This Recipe
These brownies are a decadent dessert all on their own. For a classic pairing, serve them with a cold glass of whole milk or a scoop of vanilla bean ice cream—the cold creaminess is the perfect foil to the rich, gooey bars. For a grown-up gathering, offer them alongside strong black coffee or a glass of port wine.
They’re ideal for potlucks, birthday parties, holiday cookie trays, or as the grand finale to a casual family dinner. Because they’re so rich, cut them into small squares—a little goes a long way.
Storage & Make-Ahead Instructions
- Proper storage keeps these brownies at their best:
- Storage: Once the frosting is fully set, store the brownies in an airtight container at room temperature for 3-4 days. You can also refrigerate them for up to a week; let them come to room temperature before serving for the best texture.
- Freezing: These brownies freeze exceptionally well. Freeze the whole pan or individual squares on a parchment-lined sheet until solid, then transfer to a freezer bag or container for up to 3 months. Thaw overnight in the refrigerator.
- Make-Ahead: You can bake the brownie base with the marshmallow layer up to a day ahead. Let it cool, cover tightly, and store at room temperature. Make and pour the frosting on the day you plan to serve them for the freshest appearance and texture.
Frequently Asked Questions
Q: Can I use large marshmallows instead of mini?
A: I don’t recommend it. Large marshmallows don’t melt and distribute evenly, leaving you with uneven, chewy patches instead of a uniform gooey layer. Mini marshmallows are essential for the right texture.
Q: My frosting seems too thin/too thick. What happened?
A: If it’s too thin, you may have added the powdered sugar while the butter-milk mixture was too hot. Let it cool longer to thicken. If it’s too thick to pour, add a teaspoon of warm milk at a time until it reaches a pourable consistency.
Q: Can I make these without a stand mixer?
A: Absolutely! This recipe is designed to be mixed by hand with a whisk and spatula. A mixer isn’t necessary and can easily overmix the brownie batter.
Q: Why did my marshmallow layer disappear into the frosting?
A: This happens if the brownie base and marshmallow layer are still warm when you pour the frosting. The heat melts the marshmallows. Ensure everything is completely cooled to room temperature.
Q: How do I know when the brownie base is done baking?
A: Look for the edges to just begin pulling away from the pan and the top to look set. The most reliable test is the toothpick: it should have a few moist crumbs, not wet batter.
Q: Can I double this recipe?
A: For best results, bake two separate batches in two 9×13 pans. Doubling and baking in a larger or deeper pan will throw off the baking time and layer proportions.
Q: What’s the best way to cut them cleanly?
A: The hot knife method is foolproof. For extra-clean lines, you can also chill the entire pan for 30 minutes before slicing.
Final Thoughts
This Mississippi mud brownie recipe is a celebration of pure, unadulterated chocolate joy. It proves that the most impressive desserts often come from the simplest methods. By focusing on a few key techniques—not overmixing the batter, nailing the marshmallow timing, and letting each layer cool properly—you create a treat that’s far greater than the sum of its parts.
The result is a showstopping dessert that feels nostalgic yet special every single time. I hope this recipe becomes your go-to for when you need a guaranteed crowd-pleaser. Give it a try, share it with friends, and don’t forget to come back and let me know how it turned out.
Happy baking
Mississippi Mud Brownies
Ingredients
Equipment
Method
- Preheat your oven to 350°F (175°C). Grease a 9×13-inch metal baking pan and line it with parchment paper, leaving an overhang on the two long sides. This is your lifeline for clean removal later. In a large bowl, whisk together the melted butter and granulated sugar until combined. Whisk in the eggs, one at a time, followed by the vanilla. The mixture should be smooth and slightly thickened.
- Sift the flour, 3/4 cup cocoa powder, and 1/2 teaspoon salt directly into the wet ingredients. Using a rubber spatula, fold the dry ingredients into the wet until just combined and no dry streaks remain. Trust me, overmixing is the enemy of a fudgy texture. The batter will be very thick and glossy.
- Spread the thick brownie batter evenly into your prepared pan. It will be a thin layer—this is correct. Bake for 20-25 minutes, or until the top looks set and a toothpick inserted into the center comes out with a few moist crumbs, not wet batter. The edges may just begin to pull away from the pan.
- Immediately after removing the pan from the oven, evenly sprinkle the entire surface with the mini marshmallows. Return the pan to the oven for 3-4 minutes, just until the marshmallows are puffed and softened. They will not melt completely, which is perfect. Place the pan on a wire rack and let it cool completely. The marshmallow layer will deflate and become wonderfully gooey as it cools.
- While the base cools, make the frosting. In a medium saucepan over medium-low heat, melt the 1/2 cup butter with the milk and 1/4 cup cocoa powder, whisking constantly until smooth and just beginning to simmer. Remove from heat. Whisk in the sifted powdered sugar, vanilla, and salt until completely smooth and pourable. Let it cool for 5 minutes to thicken slightly, then pour evenly over the cooled marshmallow layer. Tip from me: pour from the center and gently tilt the pan to spread—don’t stir the marshmallows. Let the frosting set for at least 1 hour before slicing with a hot, wet knife for clean cuts.


